B. Getting Started
Add Knowledge Sources
Teach the AI representative about your business by adding content it can use to answer visitors.
By aninditoUpdated 14 Mar 2026
This guide explains how to provide the information your AI representative needs in order to assist visitors correctly.
At this point, your representative already has an identity and communication behaviour.
However, it does not understand your business yet.
To make the representative helpful, you must provide it with knowledge.
Why this step matters
Your representative answers visitors using only the information you provide.
It does not:
- browse the internet
- guess answers
- respond outside the knowledge you provide
If the representative cannot answer a question, it usually means the relevant information has not been added yet.
Adding knowledge is what allows the representative to guide visitors reliably.
What counts as knowledge?
Knowledge is any information a visitor might reasonably ask about.
Typical examples:
- product or service descriptions
- feature explanations
- pricing information
- onboarding instructions
- company policies
- FAQ content
A simple rule:
If a human staff member would read it before replying to a customer, it should be added as knowledge.
The representative works best with content written in clear, descriptive sentences.
Narrative explanations (paragraph-style text) are more effective than short fragments, isolated bullet points, or tables without context.
In general, the more a page reads like something a staff member would study to understand your business, the better the representative can use it.
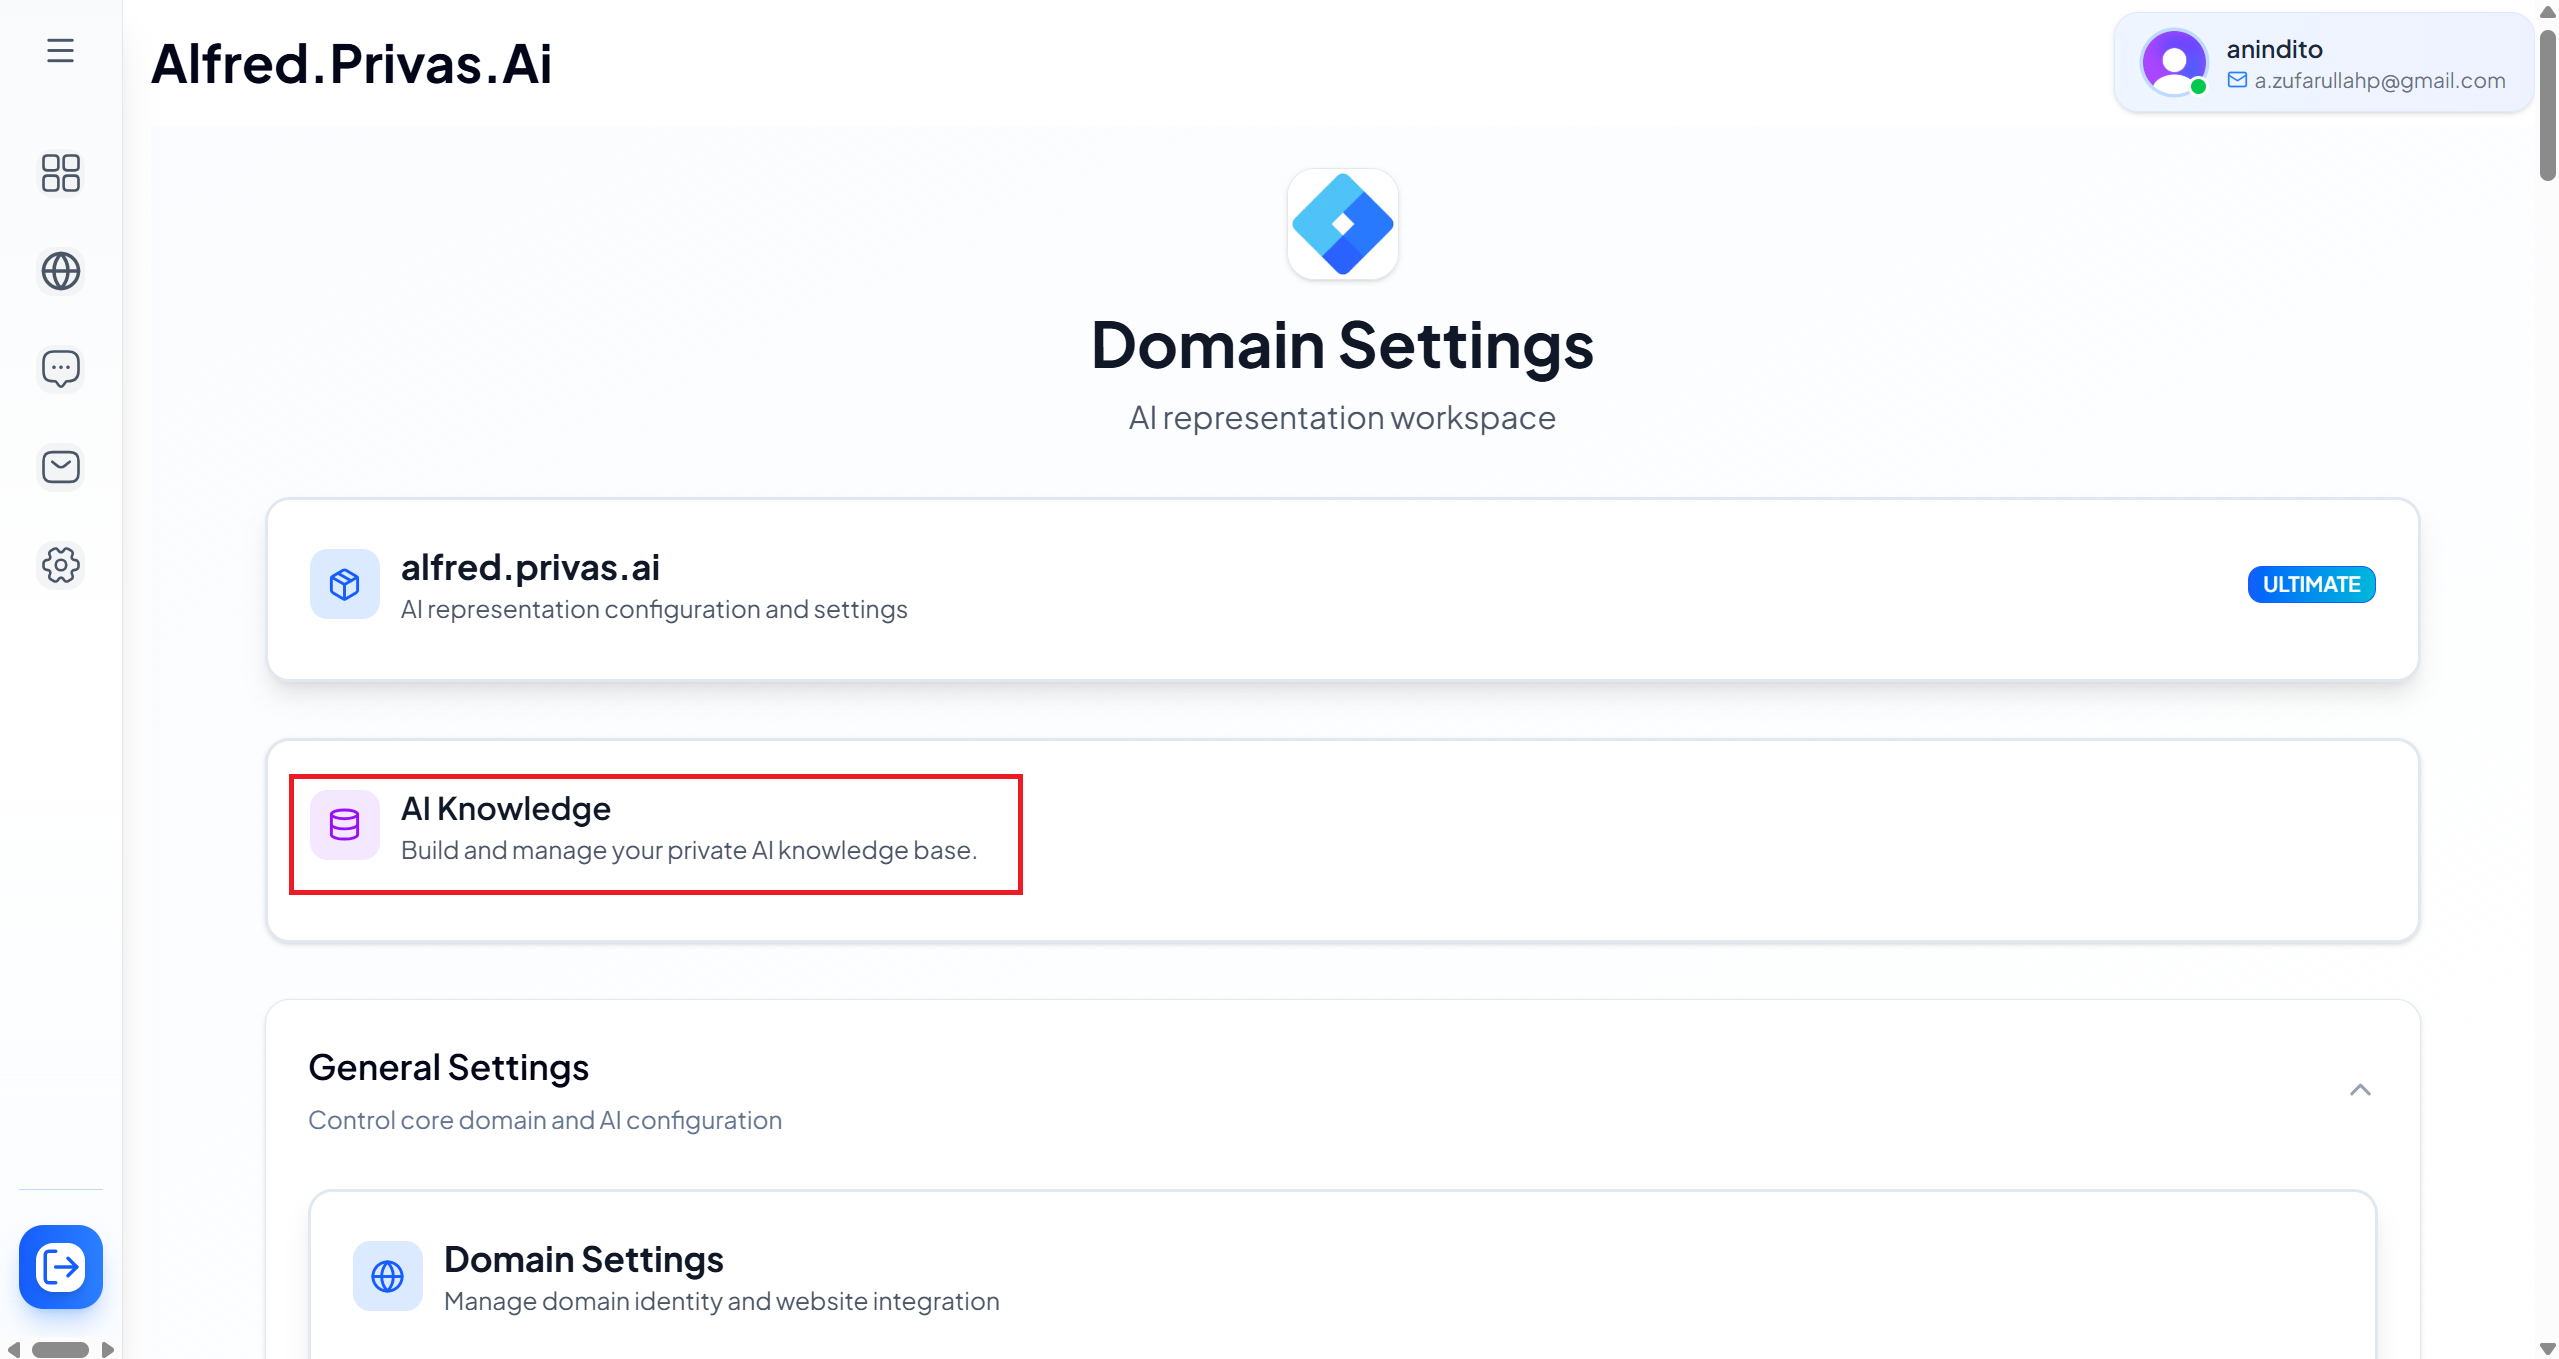
Navigate to AI Knowledge
- Open your domain inside the Domain Center.
- Click AI Knowledge
This is where you manage all information available to the representative.
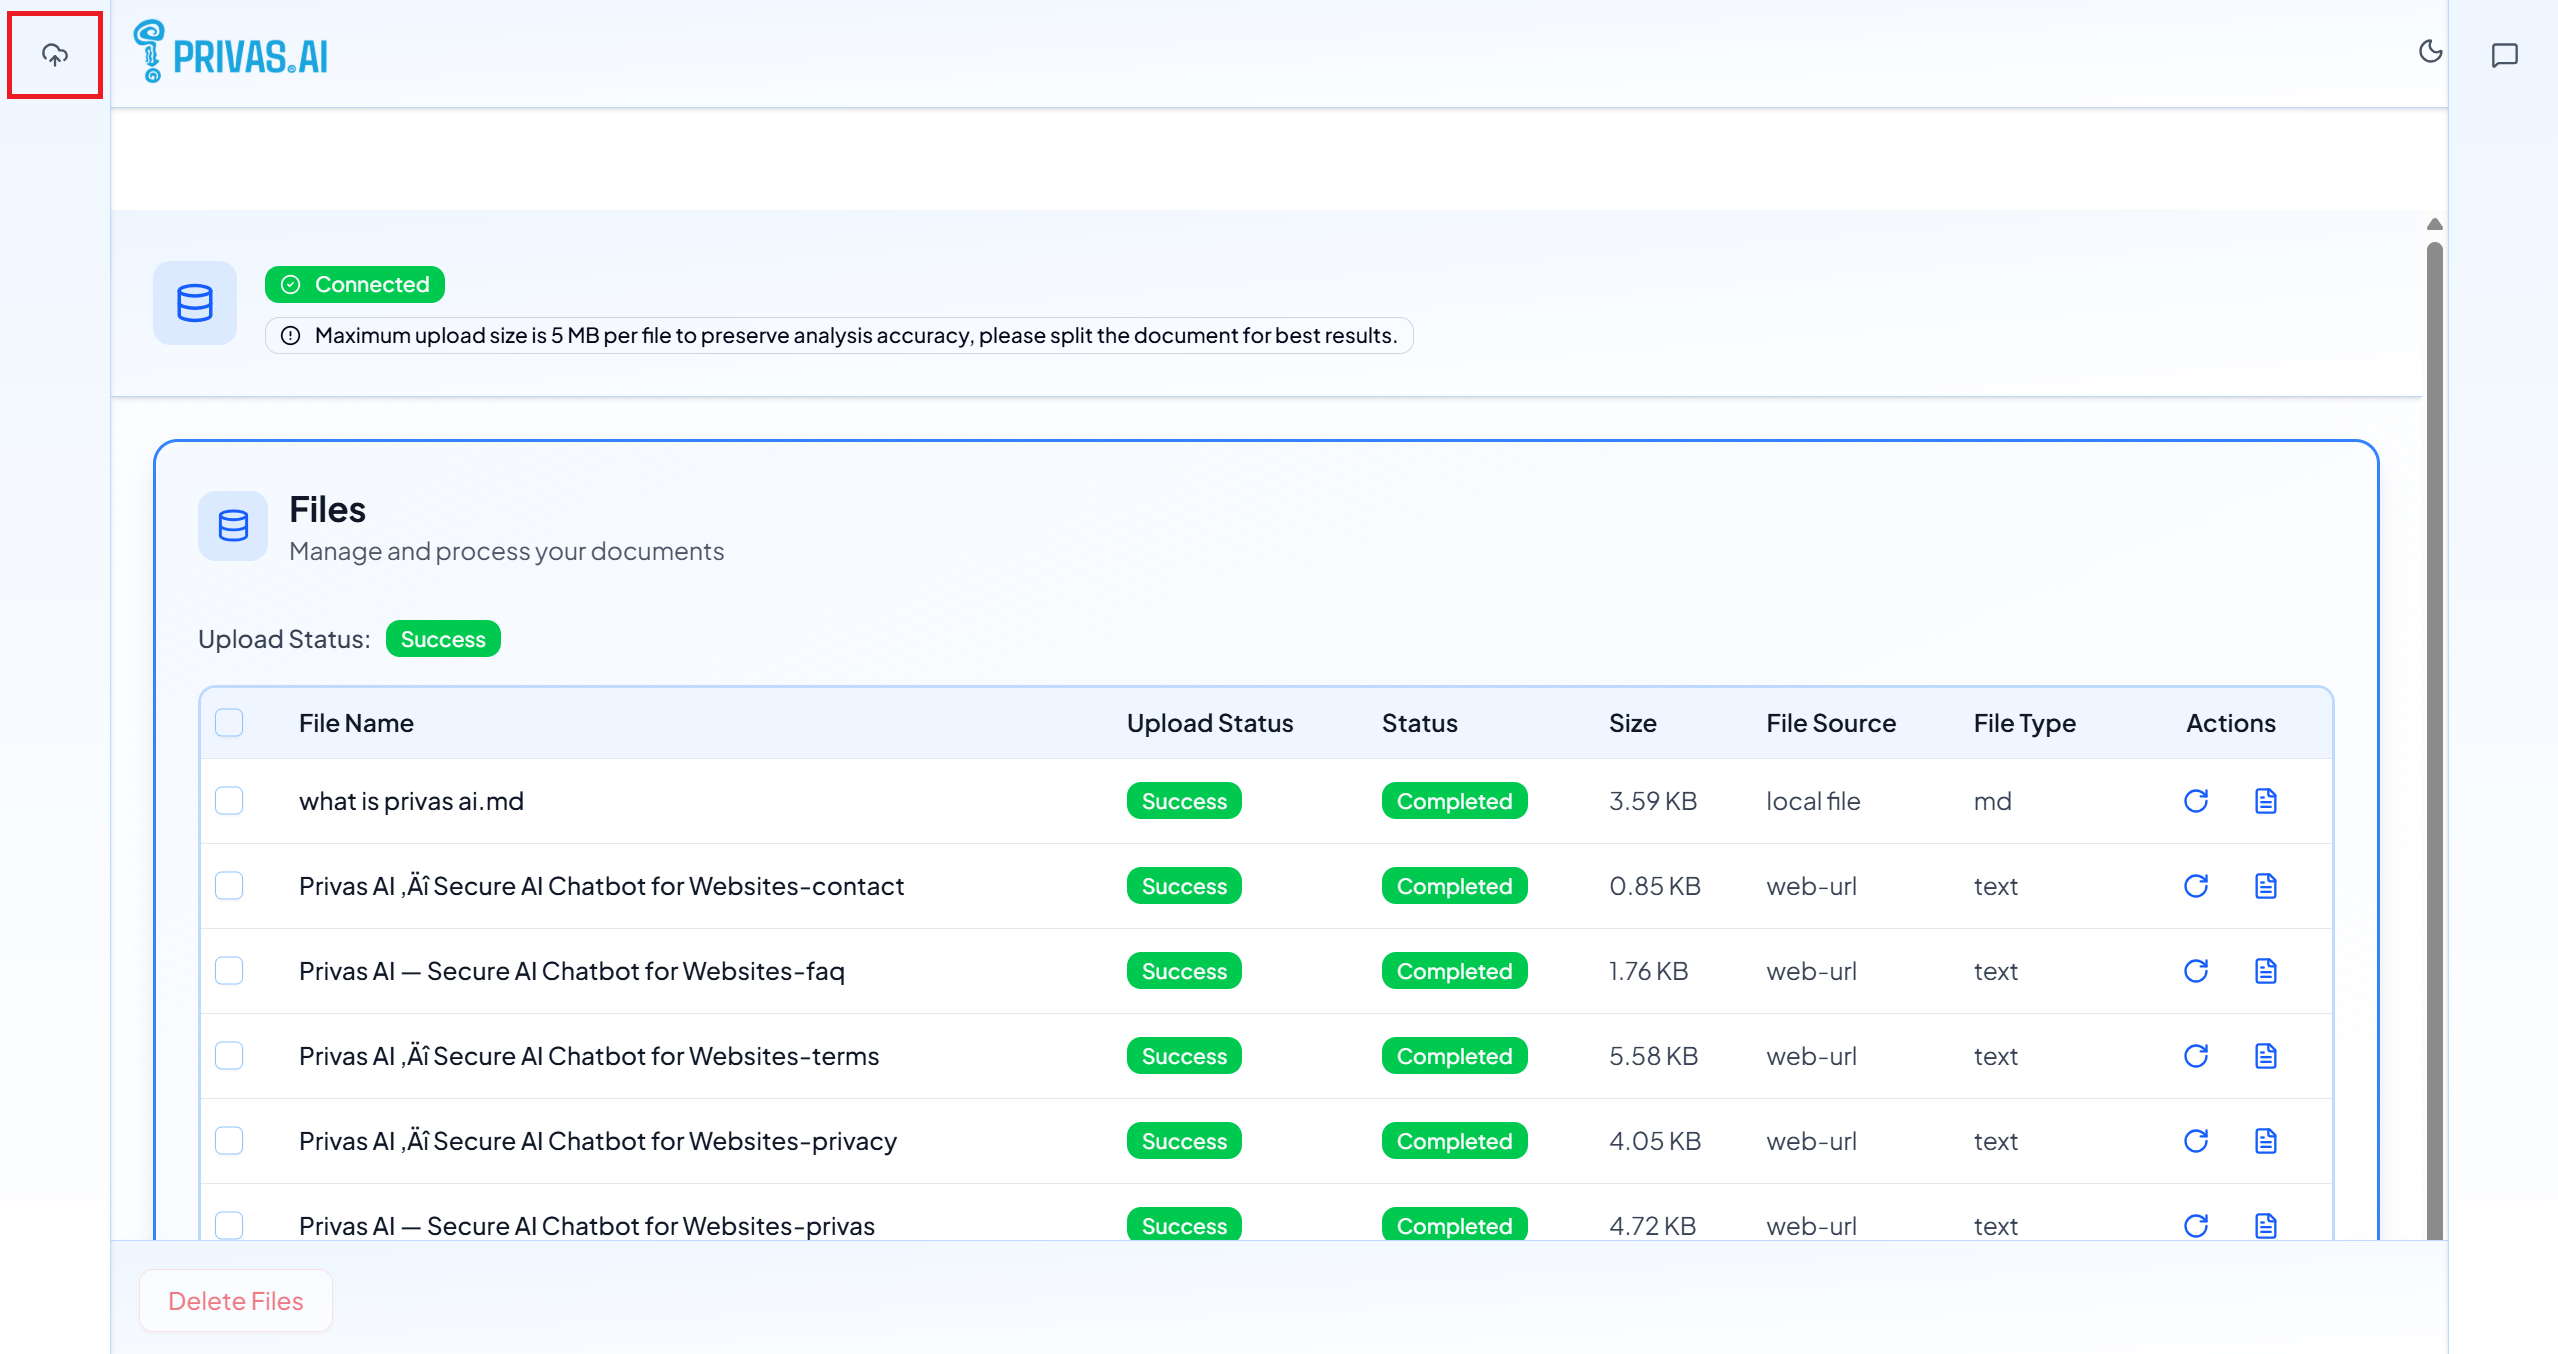
Click the Sources icon in the top-left corner.
This is where you add or upload content.
Step 1 — Add your first source
You can provide knowledge in multiple ways depending on your setup.
Common sources:
- website pages
- documentation pages
- written FAQ or support content
Start with your most important pages:
- homepage
- pricing page
- product overview
This allows the representative to immediately handle common visitor questions.
Available data source options
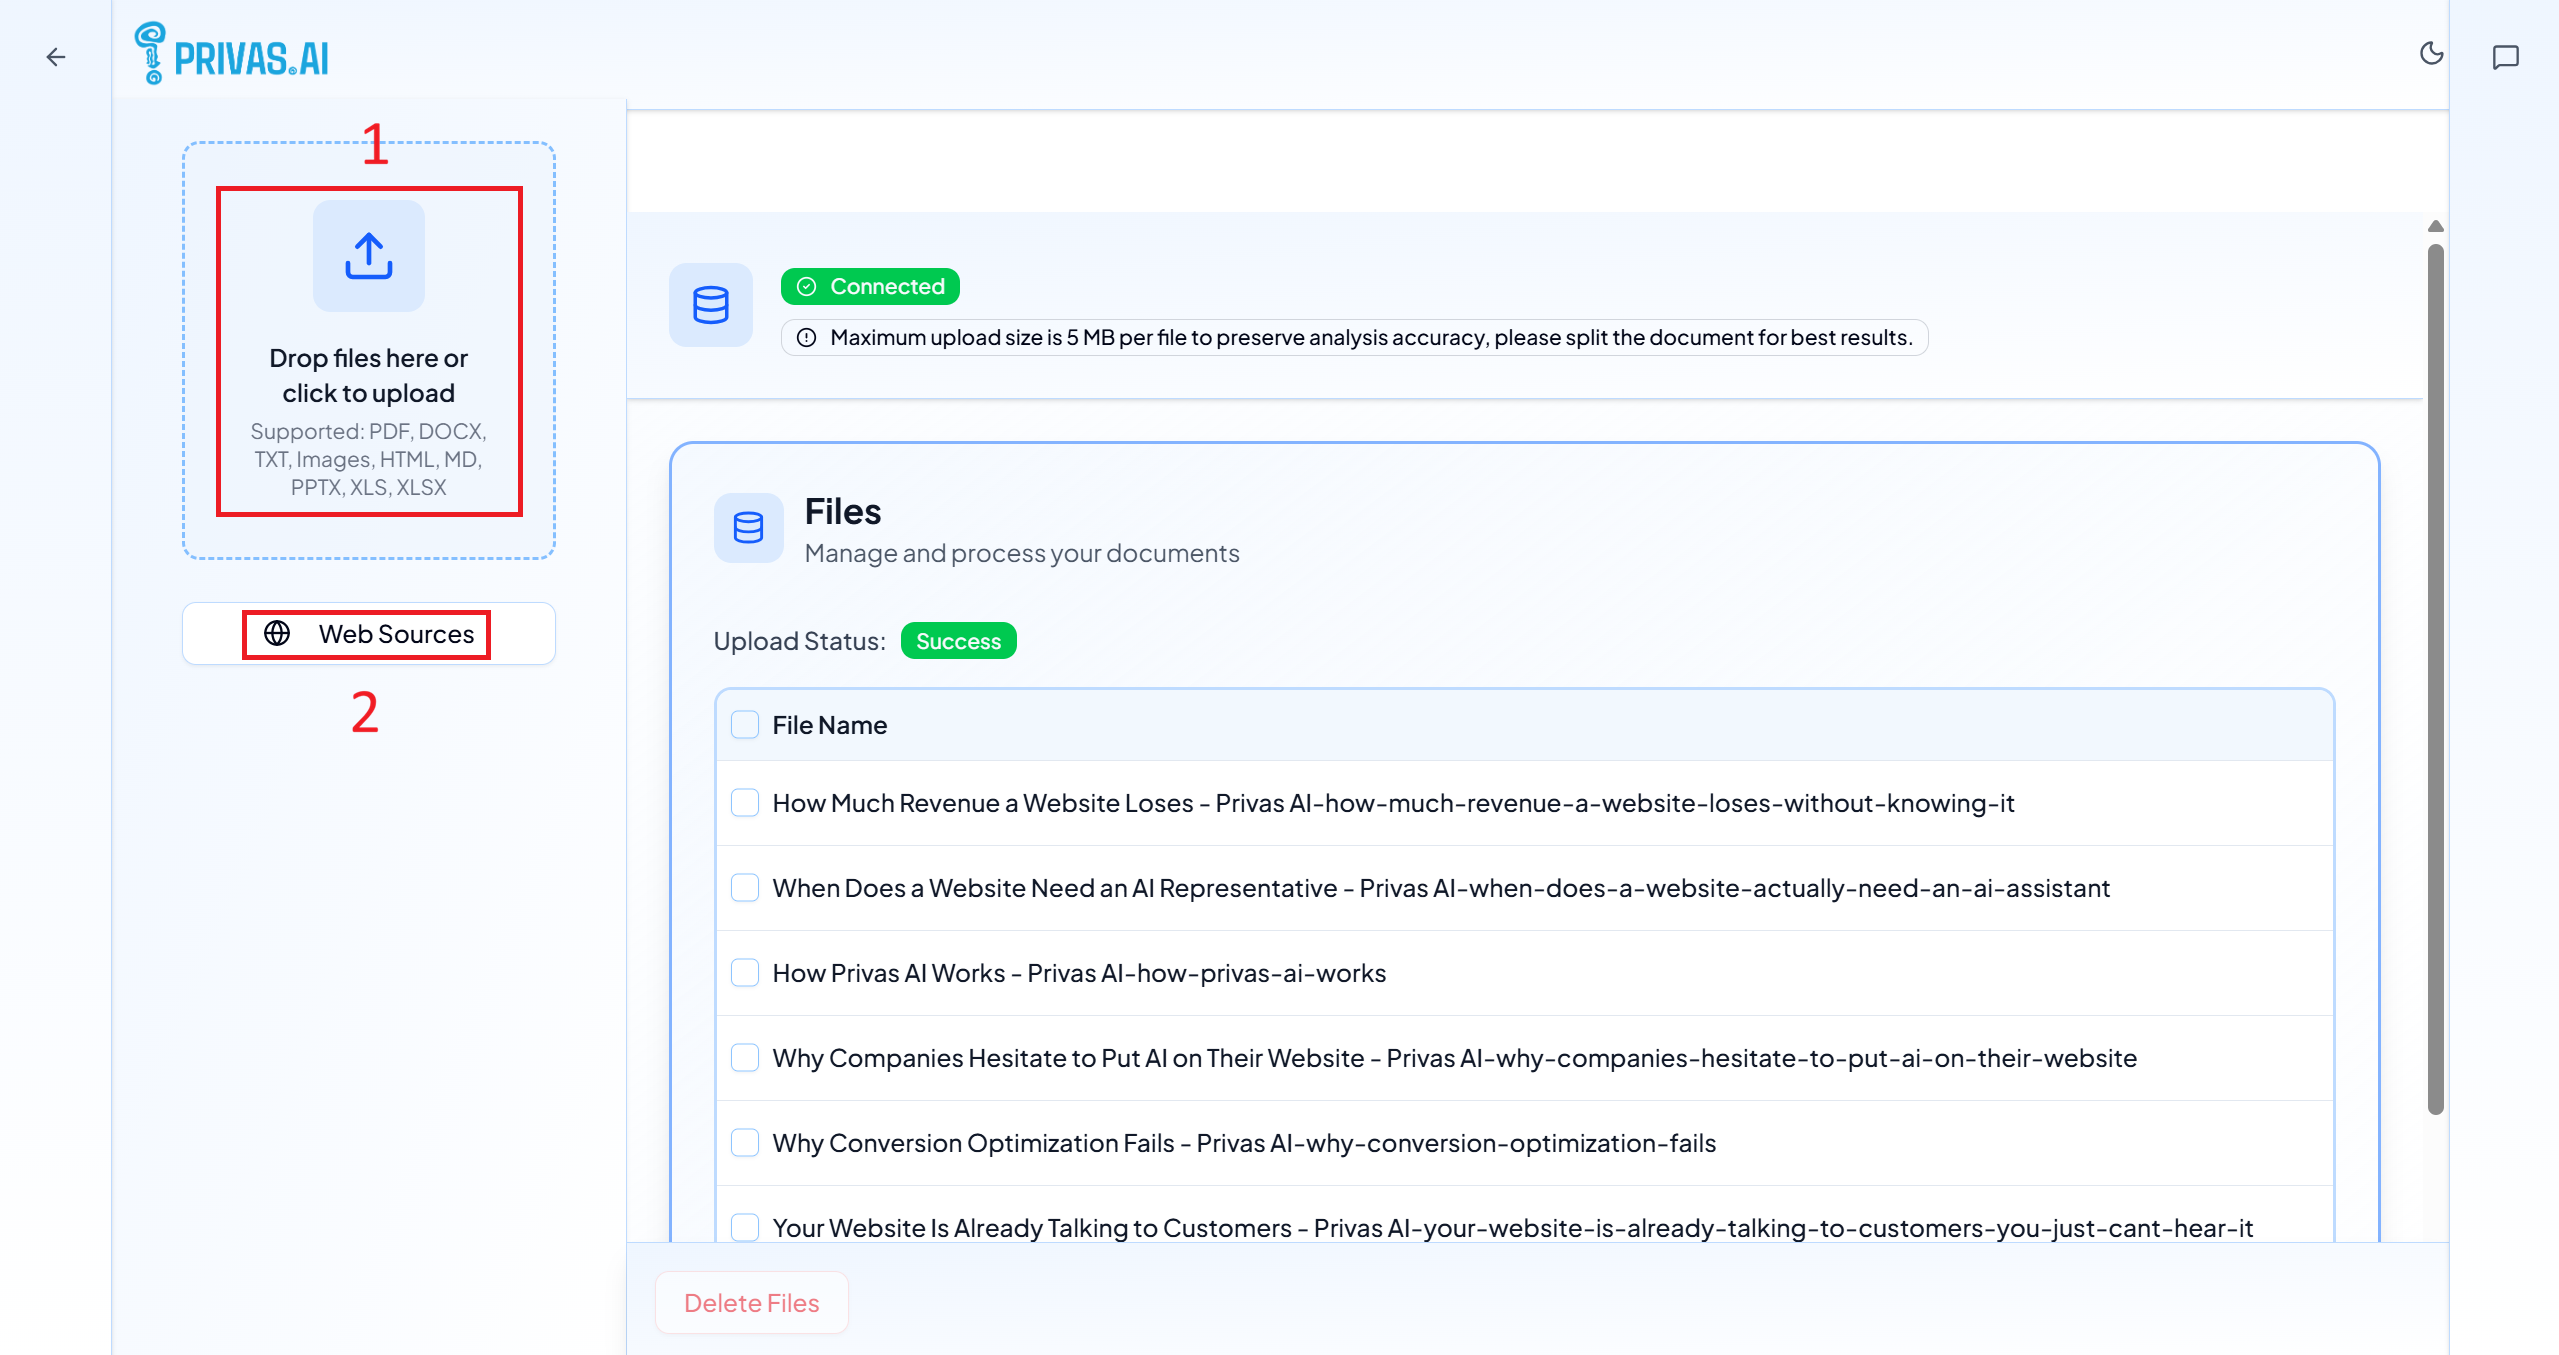
File Upload
Upload documents such as guides, manuals, or written FAQs.
Web Sources
Import content directly from online pages.
Web sources

Supported types:
- Website pages
- Wikipedia articles
- YouTube videos
How website pages are imported
When you add a website URL, Privas AI imports only that specific page.
For example:
If you add:
https://example.com/
The representative learns only the content of the homepage.
It does not automatically read the entire website.
Each URL is treated as a separate knowledge source.
Pages such as:
/pricing/terms/about/faq
must be added individually.
For example:
https://example.com/pricing

https://example.com/terms

https://example.com/about
This behavior is intentional.
Privas AI does not crawl websites automatically to prevent:
- incorrect content collection
- outdated information
- unrelated pages being included
- private or restricted content being indexed
You stay in full control of what the representative is allowed to know.
Recommended approach
Start by adding:
- Homepage
- Pricing page
- Product or service overview
Then gradually add additional pages based on the questions visitors ask.
This produces better results than importing many pages at once.
Step 2 — Wait for processing
After adding a source, Privas AI processes the content and prepares it for conversations.
Large pages or videos may take longer to process.
During processing:
- the representative may not answer correctly yet
- this is normal and temporary
Once processing is complete, the representative can use the information in conversations.
Upload tips
- Ensure the file upload completes successfully.
- If the upload fails due to a network issue, remove the failed file and upload it again.
Processing behavior
Once the upload is successful, processing runs on the server.
You can close the tab or navigate away — the process will continue in the background.
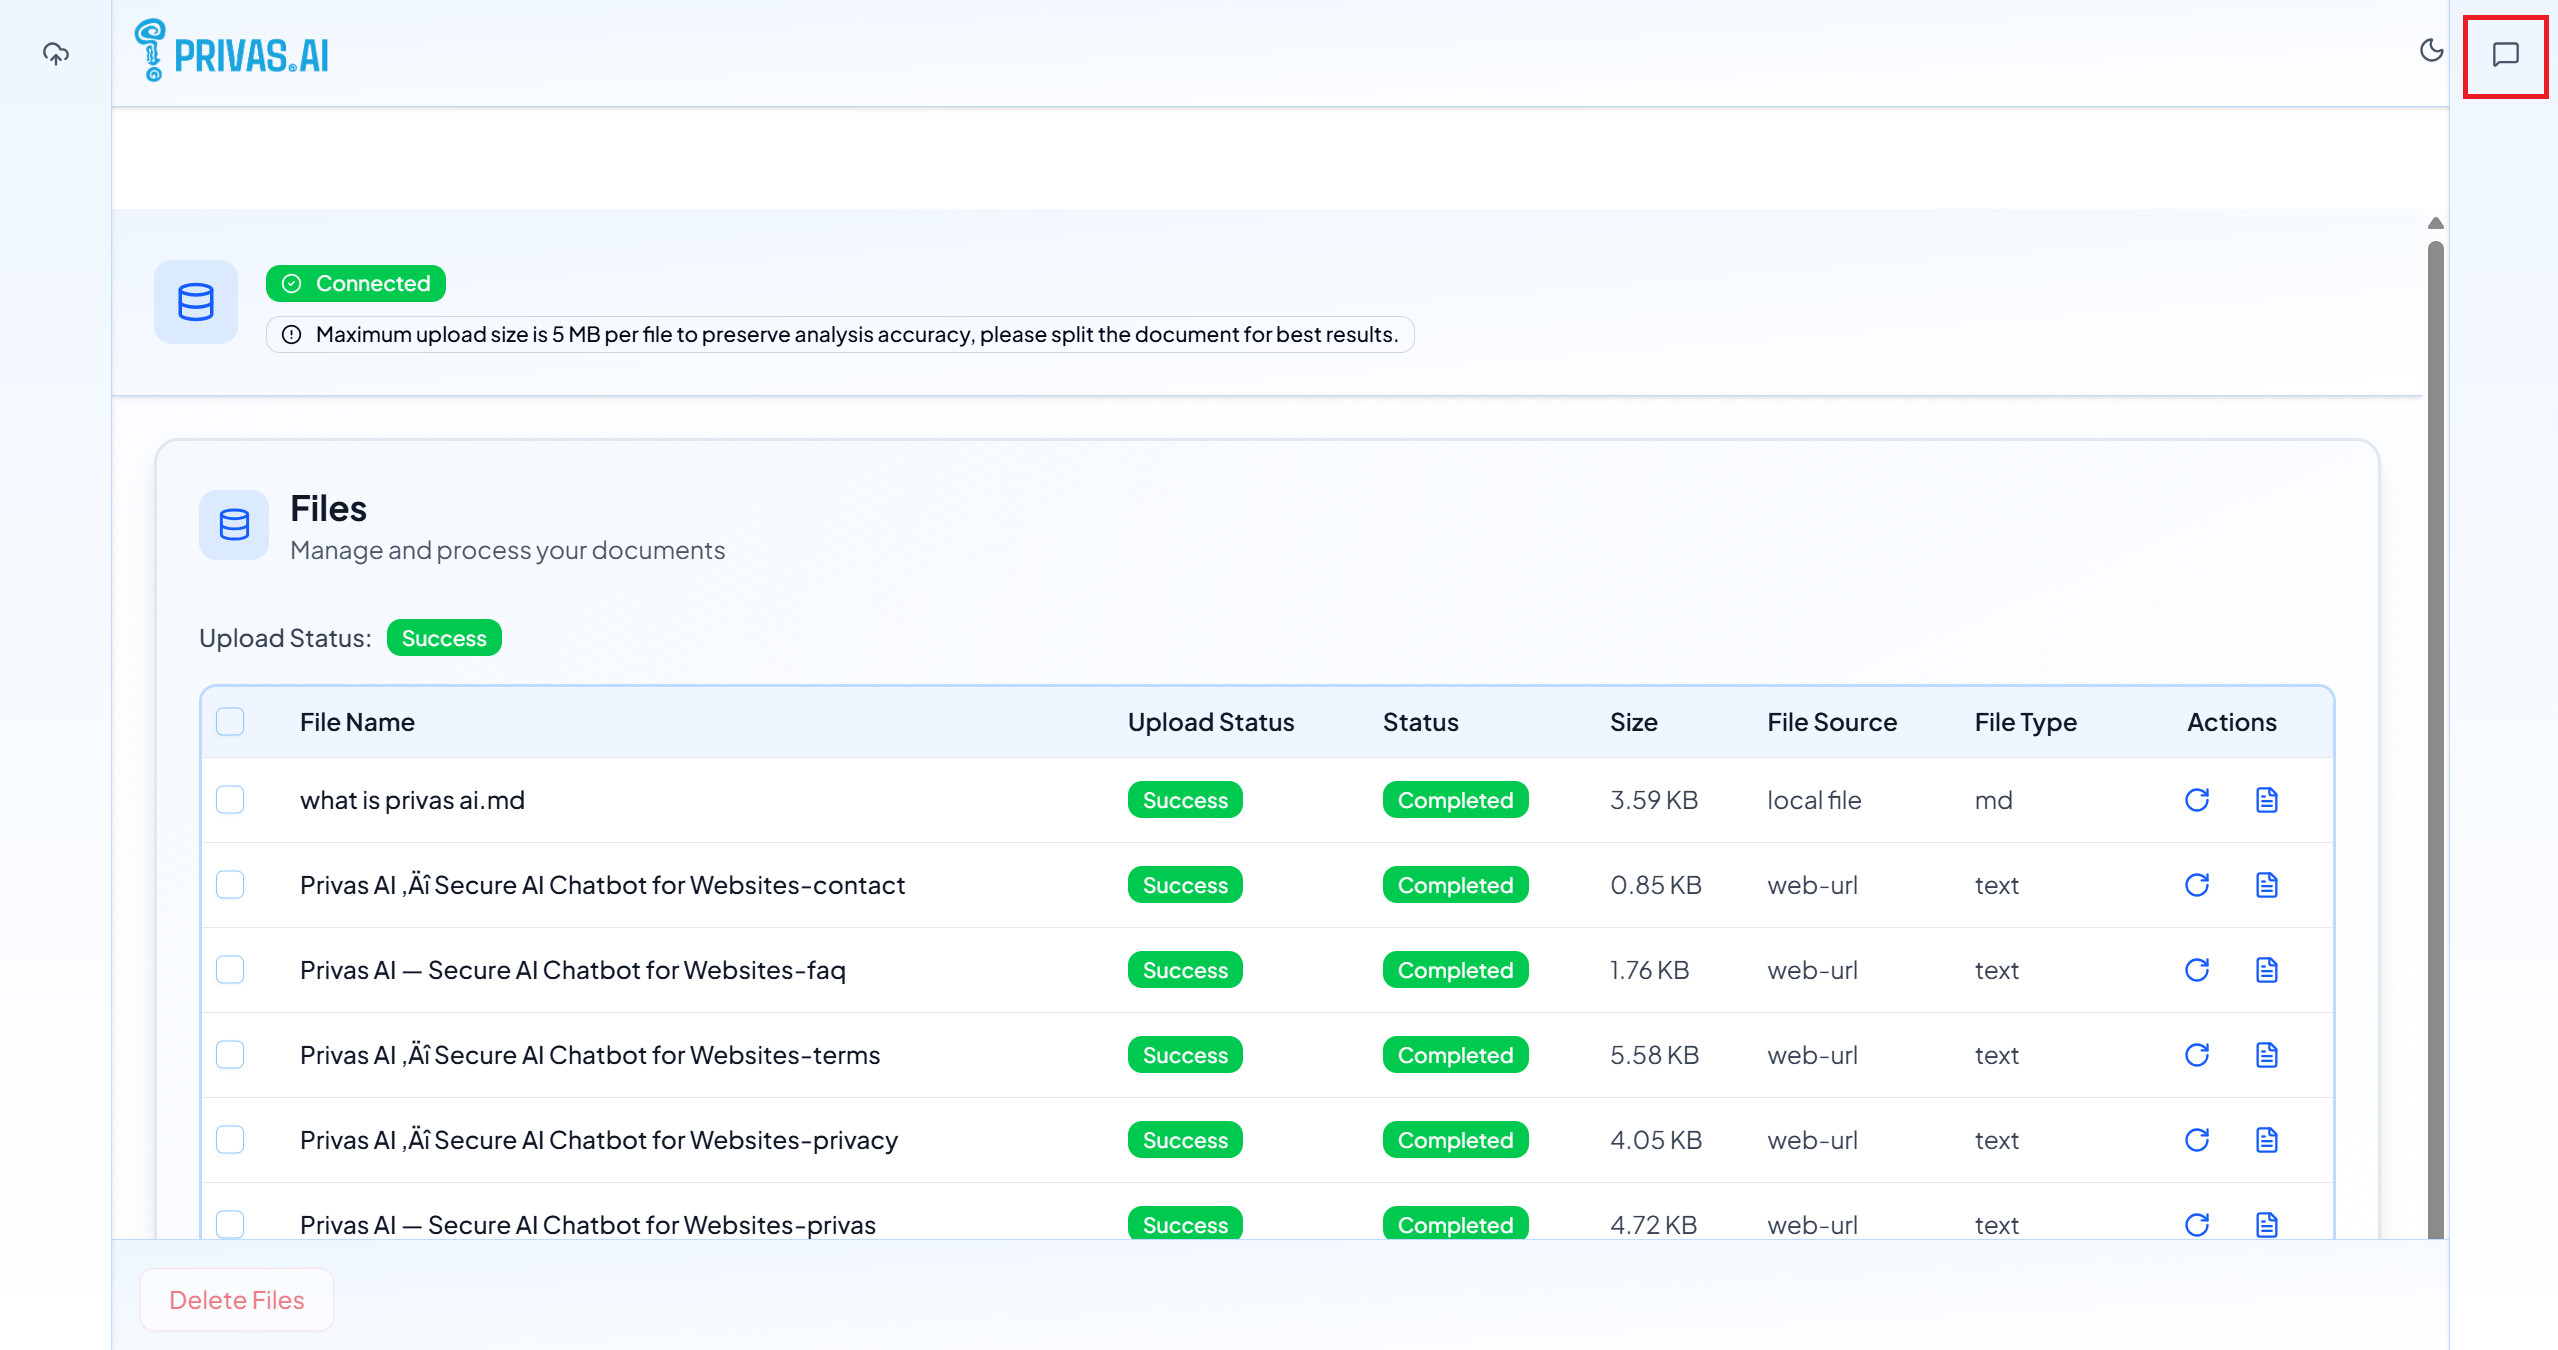
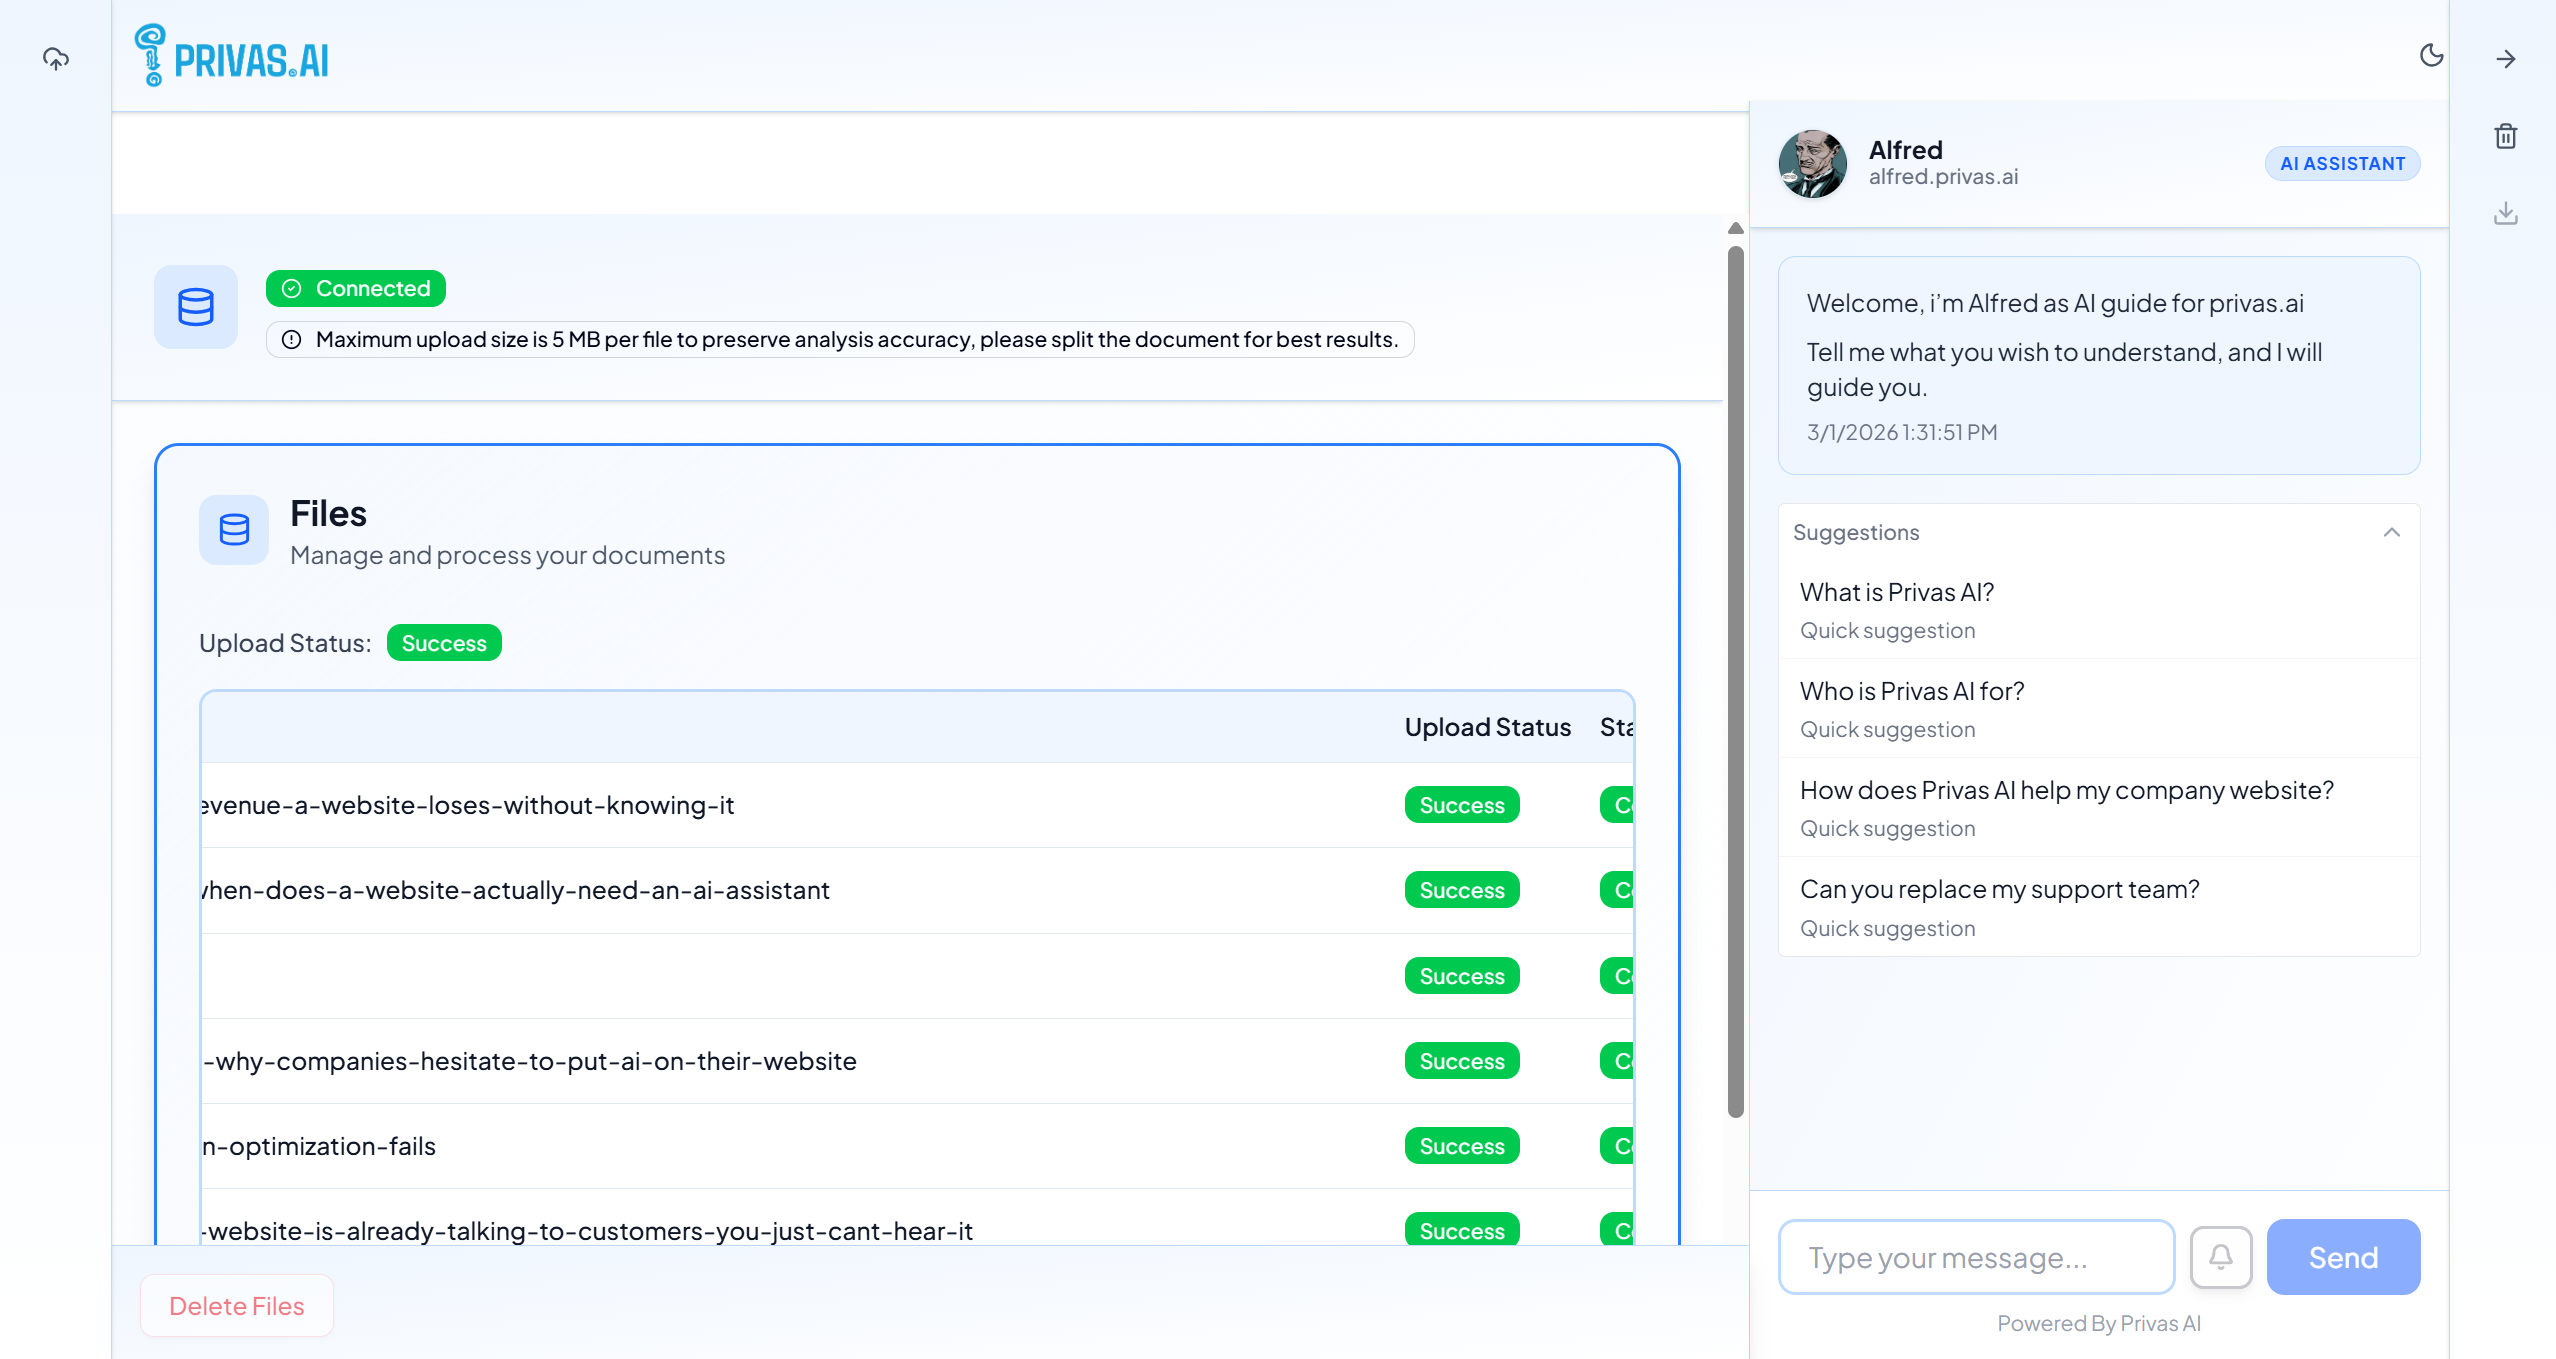
Verify the knowledge
You should test the representative before continuing.
Click the message icon in the top-right corner.
This opens a quick test chat without leaving the dashboard.
Ask a question that is already explained on your website. Avoid asking completely new questions during this test. The goal is to confirm the representative can use the information you just provided.
Example questions:
- “What does this product do?”
- “Who is this for?”
- “How do I get started?”
If the response is clear and matches your website information, the knowledge is active.
The quick test chat is intended only for configuration testing.
It helps you verify that the representative understands the knowledge you added, but it does not represent the real visitor experience.
For a full conversation experience (the same interaction visitors will see), use a Share Link and open it in a normal browser tab or send it to someone else for review.
Common mistakes
Avoid the following:
Adding too little content
A single short page is usually not enough to answer varied visitor questions.
Adding unrelated material
Only include information relevant to this specific website or domain.
Testing too early
Wait until processing finishes before evaluating responses.
Expecting answers for pages not yet added
If a specific page (for example /pricing or /terms) has not been added, the representative cannot answer questions about it.
Pages that only contain slogans, marketing taglines, or very short text usually do not provide enough information for the representative to answer detailed visitor questions.
What happens now
After knowledge is added, the representative understands your website and can properly guide visitors.
Before placing the representative on your public website, you should let others review its responses.
We strongly recommend validating the representative using a Share Link before installing it on your public website.
The next step is letting other people review it before publishing.
What’s next
Continue to Share the Assistant to let others validate how the AI representative behaves.